iPicFrame by Mr. Gik
How to make the image files
Step 1: Create your image(s)Cut your image(s) to the following sizes according to your device:
The file must be saved as a PNG image format, under a name that starts with the letter P and has the extension .png. If you have more than one file, they will be presented to you in the alphabetical order of their filenames.
The first part (until the + (plus sign) is ignored (use this for shorting purposes)). The .png is also ignored. The - (minus sign) is translated to / and the _ (underscore) is translated to space.
Example: If the filename is
P002+21-03-2012_Kids.png
it will be shown as 21/03/2012 Kids If no + (plus sign) is found, all the filename will be used, except the first P and the .png part. |

|
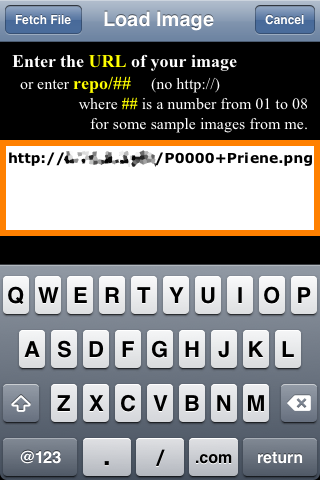
Step 2: Upload the image in the AppPlace your image(s) in a (shared) folder of your computer, turn on (if required) your computers web server('Web Sharing' in the 'Sharing' preference pane on the Mac) and from the App, enter the URL of the Pxxx.png file. Press the [Fetch Files] button to download the image. |
|